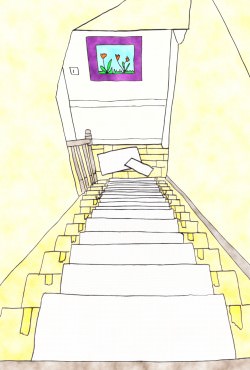
Carpet runners are common in hallways, staircases, and galley kitchens. They’re seen mostly on wood staircases to improve its presence. Runners’ purpose in décor is to bring coziness and spirit to stretched, narrow, and bare spaces. Stair rods are an elegant bundle accessory that is usually paired with runners to complete the look of a staircase. It is not necessary to have a professional install a carpet runner and stair rods; however, poorly installed carpet runners can result in a safety hazard. I prefer to use underlayment for carpet runner installations since it does not shift, and it adds cushion to each stair (and it beats tackless strips or tape). Below are steps to properly install a carpet runner and stair rods on your own.
How to Install a Carpet Runner
1. If your runner perfectly fits the length of the staircase, it is best to begin measuring the runner at the top of the staircase where the riser begins. Use the end of the rolled runner to outline where you’d like it laid. Mark the resting place with masking tape. Continue marking the resting place on each stair.
 2. Add the plush rug padding to fit on the stair, do not fabricate the pieces. Tuck the excess padding below the tread for runner security. Staple the padding in a lined pattern to ensure setting. Repeat this step to each stair until you’ve completed this step.
3. Now you’re ready to work your way down the staircase with the runner. Pull the runner down the staircase, it should be evenly rolled out on each stair. Bring the edge at the bottom of the staircase where you will begin the labor. Place the runner’s edge at the nook where the floor and the riser meet, begin stapling near the edge.
4. Give the runner a tug to ensure it’s protected, once you’ve secured the location pull the runner towards the tread. Check the runner, it should be evenly tucked in the wedged area. Also check that there’s no bulging in the carpet. Below the tread align staples, you will repeat this pattern for each stair.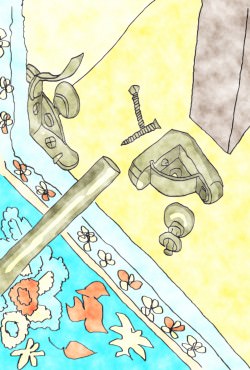
5. When you’ve completed stapling the runner on each stair, finish at the base where the top stair riser and floor meets.
How to Install Stair rods
Once you’ve completed step 5 you’re ready to install the decorative stair rods, The stair rod instructions I am providing are according to Zoroufy (Patent #5,960,516) specifications:
6. Locate the desired position of the brackets by inserting the rod into the bracket and laying one complete set on the stairs.
7. Unscrew the finial from the bracket and separate the top portion from the bracket by sliding it off laterally, exposing the installation screw holes. Each top and bottom portion of the brackets were manufactured together to fit securely with each other. Open and install only one bracket at a time so individual pieces do not get mixed. 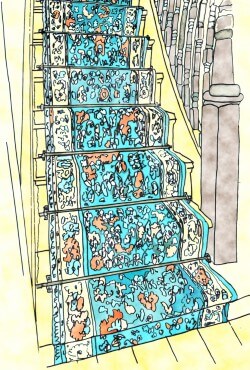
8. Power drill install the bottom portions of the set brackets onto the stair in your desired positions using the screws provided (drilling a pilot hole first is recommended but not necessary). Insert the rod into the installed bottom portions of the brackets and replace the top portion of each bracket by lining up the interlocking dovetail joints and sliding it back on.
9. Secure the top portion of each bracket to the bottom portion by screwing the fenial into the side of the assembled bracket.
10. Open and install the remaining brackets for each stair using the same method until you’ve completed the staircase.
Illustrations used in this publication are property of Style and Living Profile. Do not republish without permission and credit.
![]()

This work is licensed under a Creative Commons Attribution 4.0 International License.